Templates are created in the Notification Center, which can be found in Settings - Emails.
- Go to the main menu on the left hand side of your screen:

9 Steps to follow in order to create a new non existing Template:
1. Click on Create New:
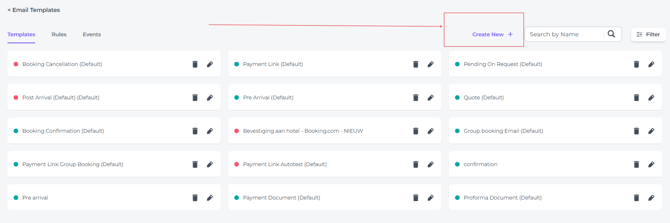
Examples:
Via Examples on the left of the screen you can choose a Default template that is already prepared.
(You can still adjust anything after choosing the default template afterwards, yet it is a good base , and the most common documents are in the template list, such as Confirmation, Booking Cancellation, Pre-arrival etc. Creating a template from scratch is possible for those who are more familiar with the notification center.)
2. The notification center will open up.
- Assign a name to your template for internal reference, and specify a title that will appear to guests when they receive the email.

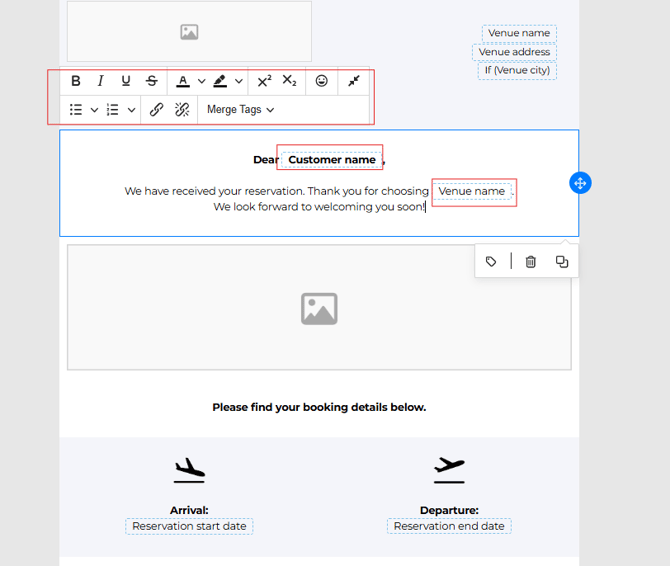
3. Amending the Default Template can be done by clicking once on the field you would like to adjust. The toolbar that appears will allow you to adjust the text's appearance.
☝️Mind you:
The elements with a dotted line around them will need to stay untouched! See image below: Customer Name and Venue name have a dotted line and these will automatically be prefilled according the reservation details when you send out the email from the reservation.
4. Using the same default template as an example, when an image should be added, click on the field and go to Upload image or insert a URL of the image you want to upload:
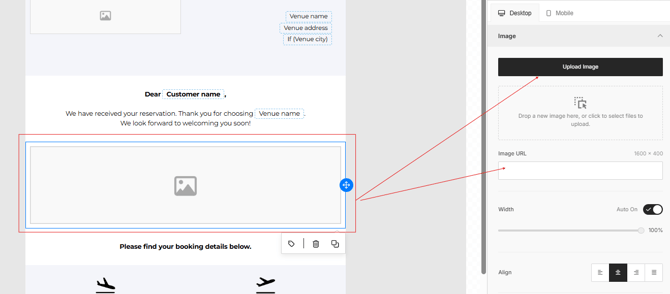
- By clicking on Upload image you can drag the image from in your computer files to the field applicable in the notification center.

- The image will be uploaded instantly and pasted in the concerning field:

5. You will find a range of helpful options in the toolbar on the right.
📞Support when you need it:
During your onboarding training, you will receive a live demonstration on how to make the most of these features.
To keep this article clear and straightforward, please reach out to our Support Team if you have any questions about the available features.
- An example of the toolbar usage: The changing colour of a button in the template:
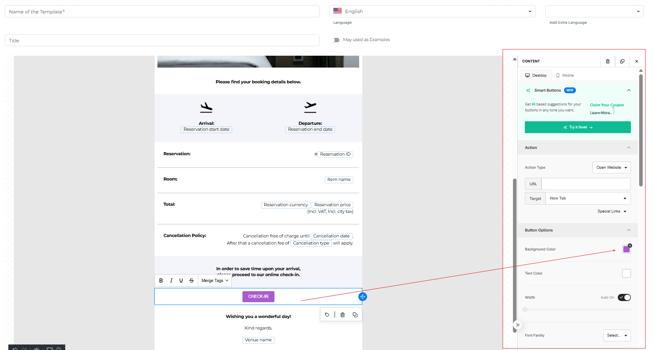
- Or to change Fonts:

6. In the Default Templates 4 Social Media icons are added, you can:
- Remove all of them:

- Remove only the ones you do not use:

- Or fill out the URL applicable to the distinct Social Media you are using and wanting guests to be able to open from the template:

7. Change your property's contact details by clicking on this particular field once:

8. In order to be able to send the emails directly from the reservation, toggle the button Manual to YES: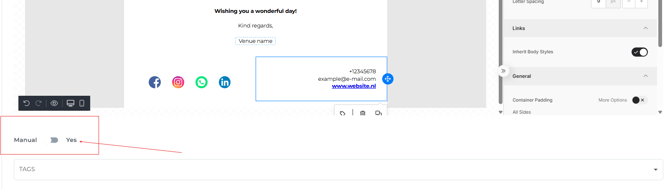
9. After checking the content and when you are pleased with the end result you can hit Save:
*Please know that you can ALWAYS amend a template you created.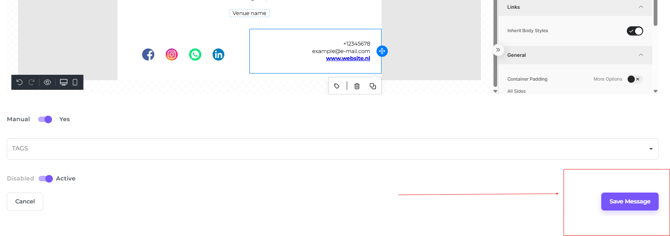
Your new template will appear in the Templates collection and you will be able to use it whenever you would like to send it. 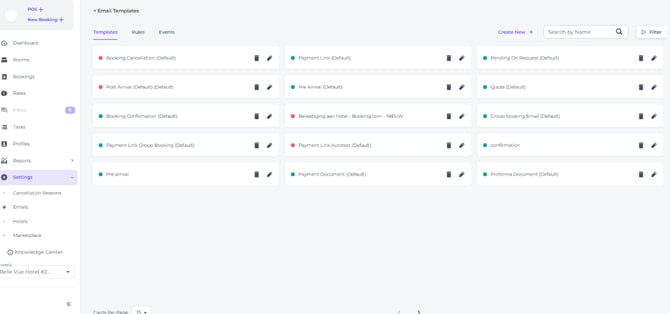
☝️Please note
If there are many templates created, they might not fit the page, you can show more of them per page, or go to the Next Page:

💡Tip:
To send an email to a guest, check out 'How do I send an Email confirmation to the guest'