Why create a Customised Role?
The system comes with a set of pre-defined roles so you can start working in the system as soon as you go live.
Creating custom roles later is straightforward and allows you to define exactly which permissions each role should have and how you want to manage access.
☝️Please note that only managers can perform this task, as this role has the permission to create new roles.
-
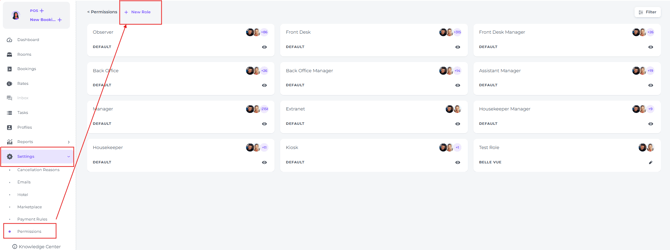
From the main menu navigate to Settings - Permissions - New Role:
-
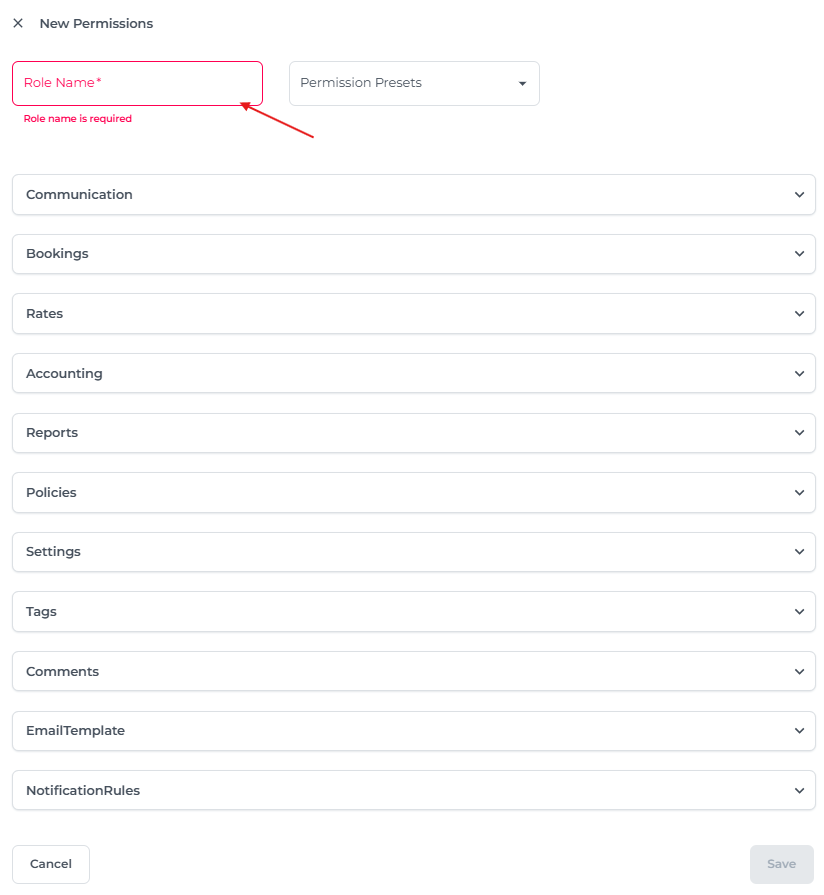
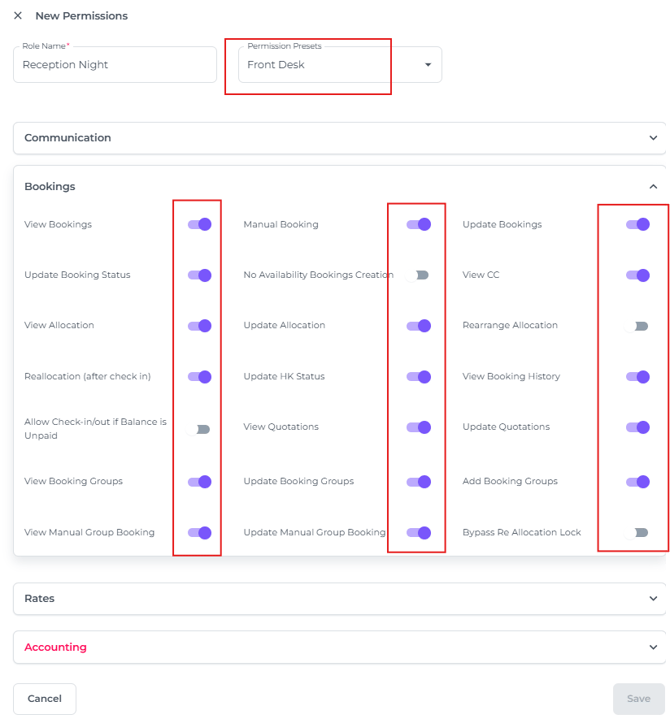
In the pop up screen that appears enter the Role Name first:
-
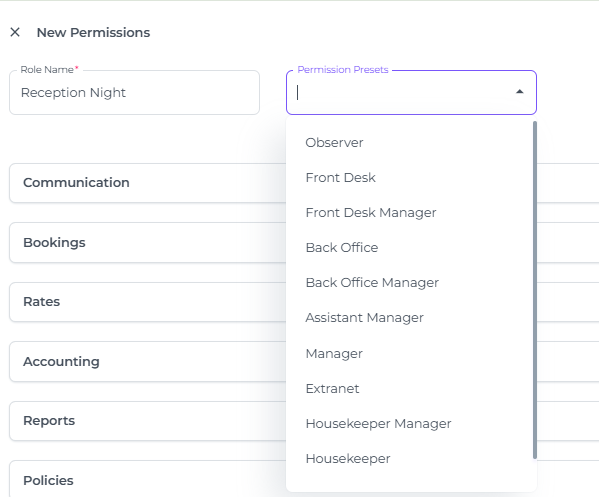
You can use the template of a Default Role and amend the role to your liking in the next steps:
-
In this example, the Front Desk role template is selected.
For each permission feature, simply toggle on or off according to what this new role should be allowed to do:
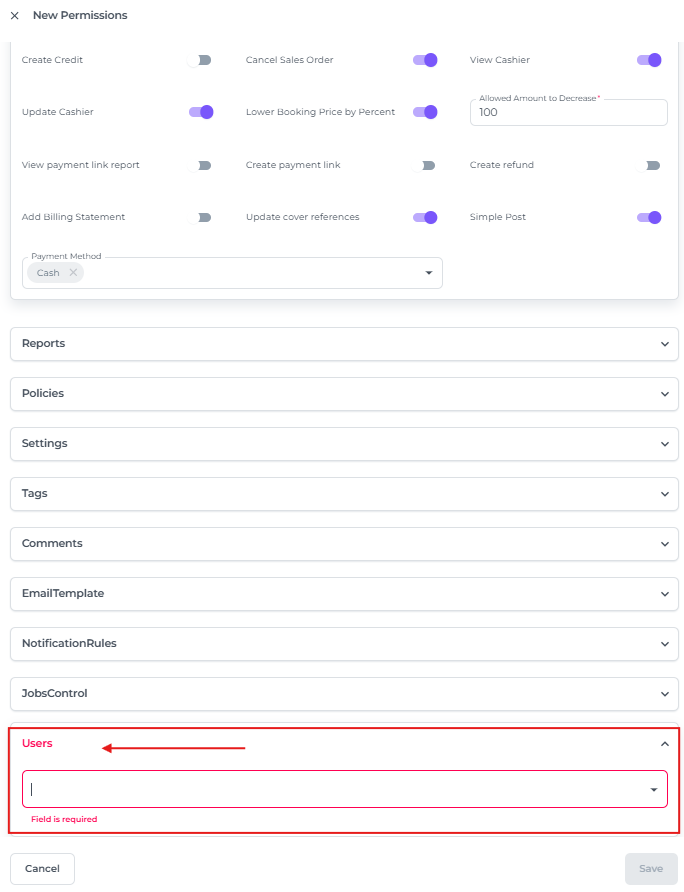
- Choose the users that will be assigned to this role:
-
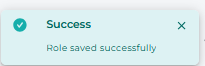
Once all fields are completed, click Save to finalise the creation of the New Role: