ℹ️Auto-allocation
Auto-allocation streamlines your workflow by assigning bookings automatically, your team sees only allocated bookings on the Room Calendar. This means a more accurate and efficient reception process.
☝️But:
Even with auto-allocation enabled in your PMS, there are times when bookings may remain unallocated. Here is why:
- Un-allocating a booking can be done manually by a user
- Automatically due to reservation amendments made by the OTA/Channel
To spot a booking that was unallocated follow the steps below:
Unallocated bookings are easy to identify in the Room Calendar:
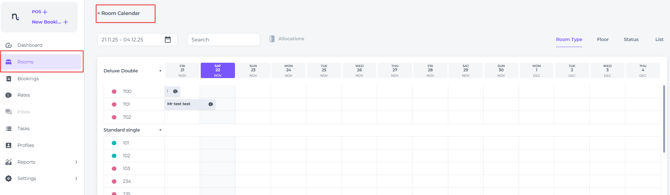
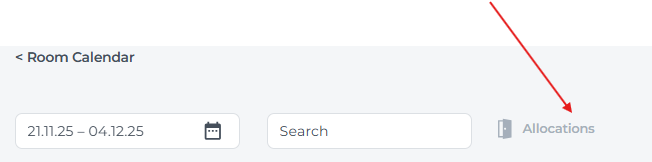
- The Date Range calendar determines the period that the Room Calendar displays. If you wish to view if there are any unallocated bookings in a different period simply change the date range there:

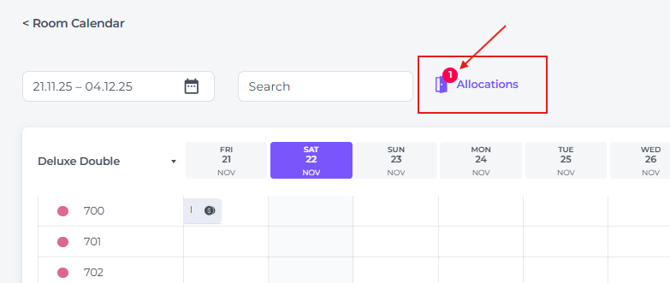
- A red dot on the door icon next to the Allocation tab shows the number of unallocated bookings at that time:
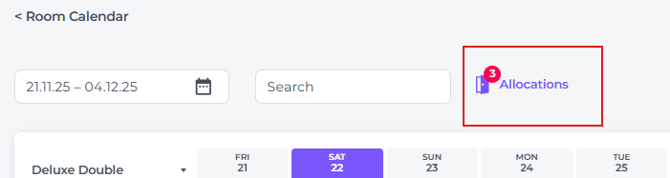
- Click on the Allocation section to view which booking(s) are un-alloacted:
- In the pop up screen that appears click on Select in order to select the desired room number:
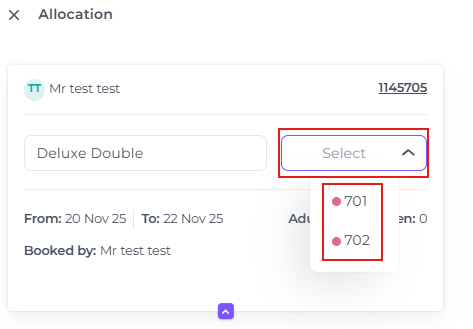
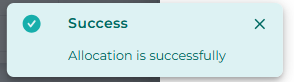
- The booking will be allocated immediately. A pop up message will let you know if the booking has been successfully allocated:
:
- If all bookings have been allocated, the red dot will have disappeared:
📝Please Note:
☝️If there are multiple bookings unallocated use the Allocate All button: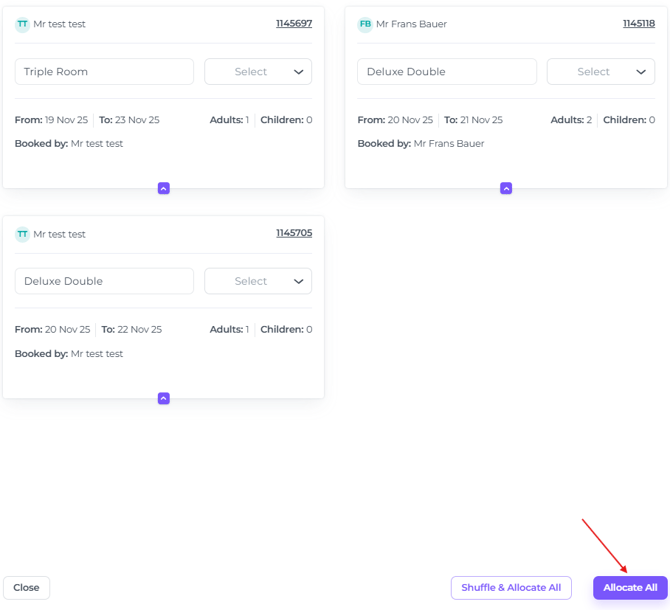
☝️If certain bookings are preventing rooms from being available for desired lengths of stay, use Shuffle & Allocate All to resolve overlaps and optimize availability: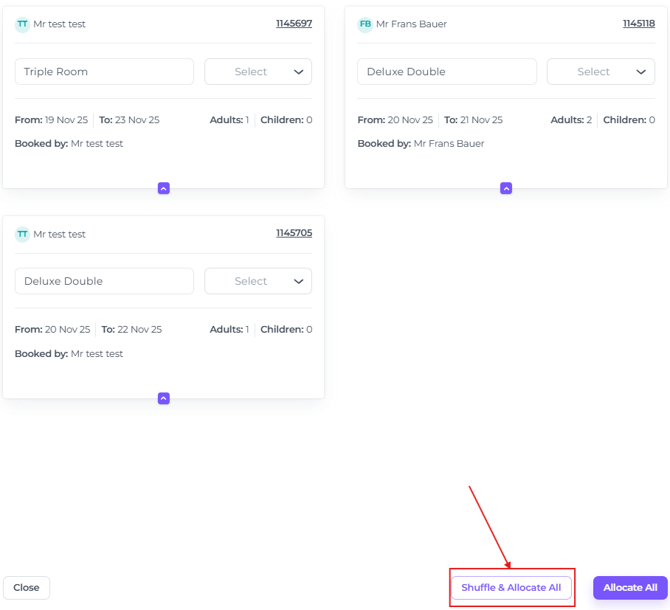
⚠️ When there are still bookings unallocated:
In case of overbooking, the bookings concerned will not be allocated.
Then take the necessary action❗❗
Activation of the the Auto Allocation
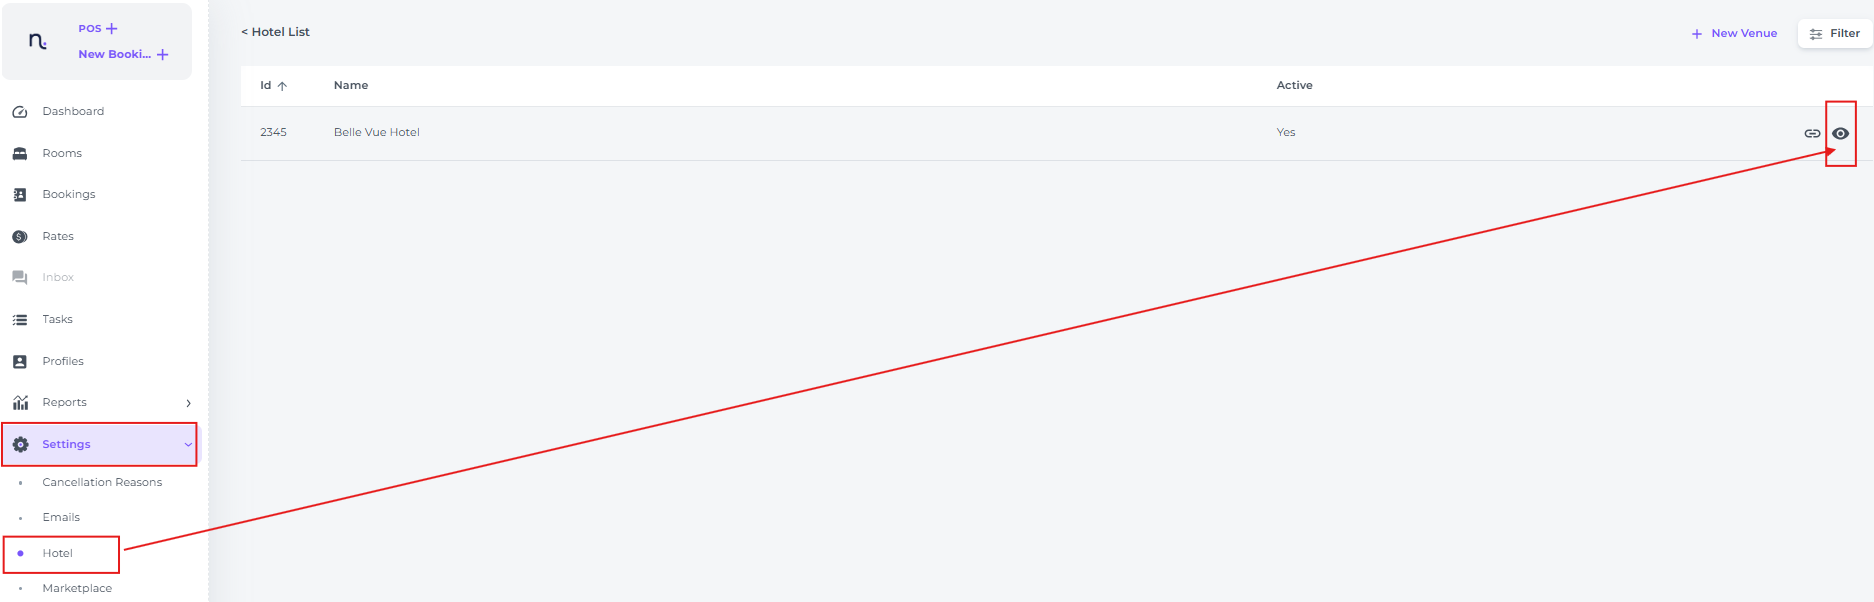
- Go to the Main Menu and choose Settings - Hotel
- Open the Hotel Settings by clicking on the eye icon:
- In the pop up screen on the General tab, tick on the box in front of Auto Allocate after booking created and hit Save:
