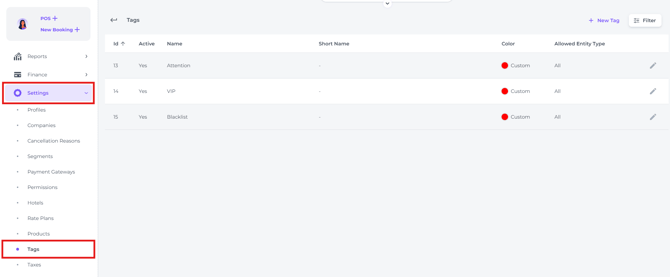
The Tags feature can be found in the main menu under Settings - Tag Settings. You will discover a set of default tags ready for use.
This is also where you can create your own custom tags to categorize bookings, profiles, notes and more:
⚠️Important Note
🔜Feature Preview:
Please note that the Tags functionality is currently under development, so some Tag options may not be fully operational yet. We appreciate your patience as we continue to enhance and implement this feature.
How to CREATE a custom tag:
- Click + New Tag in the top right corner of your screen:

-
Tags can be used in various functions of the system:
- Attach to a BOOKING
- Attach to a BILLING DOCUMENT
- Attach to a GUEST PROFILE
- Attach to a PRODUCT
- Attach to a RATE PLAN
- Attach to a GROUP BOOKING
- Attach to a NOTE
- Attach to an EMAIL TEMPLATE
-
You can choose from the above mentioned Tag Types when creating a new tag:
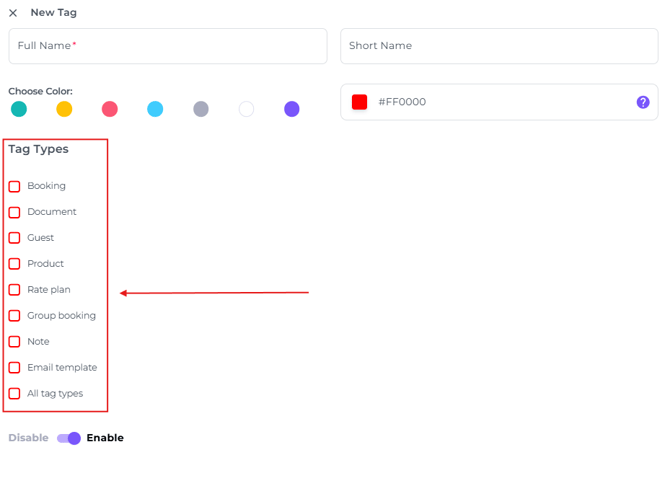
- Full Name - Enter the appropriate Name
- Short Name - Enter an abbreviation of the Full name
- Choose Colour - Select the tag colour from the available standard colour options or use the colour picker to create a custom colour for your tag.
- Tag Types - Select which item type the tag should apply to. Choosing “All tag types” will make the tag available for use in every section.
- Disable/Enable toggle - Enable or disable the tag after creation making it active or inactive.
- Click on Save to save the tag you have just created.
Attach a tag to a BOOKING:
- In the booking page of the concerning booking click on the More button and chose Edit Tags:
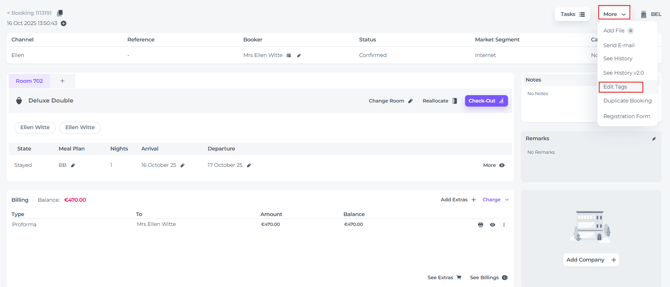
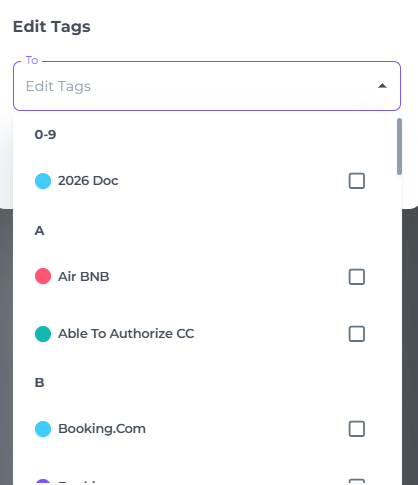
- Select the tag you wish to assign to the concerning booking.
*You have the option to apply multiple tags to a single booking if desired: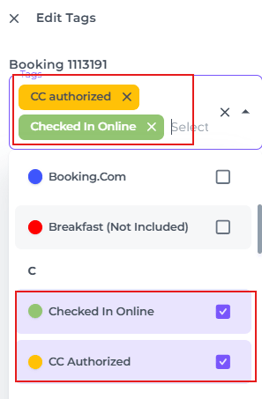
The attached tags will be visible on the Booking page:
And in the Booking List: 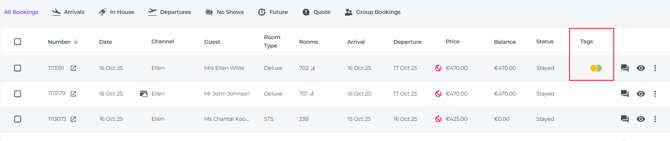
Offering the user valuable insights regarding each specific reservation in one glance.
Additionally, you can utilize the Filter Function to sort and view all bookings that share a particular tag: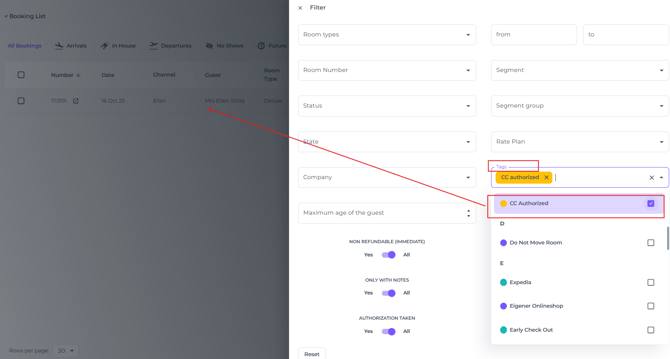
Apply a tag to a BILLING DOCUMENT:
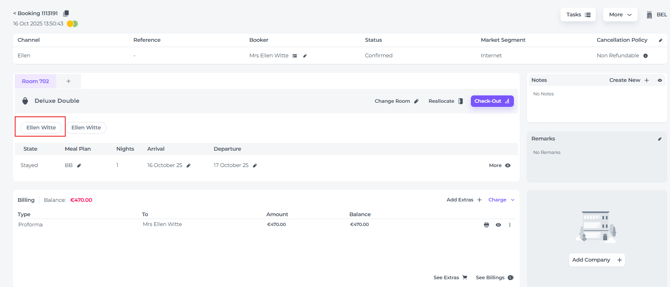
- On the Booking page of the concerning booking in the Billing section, click on the More Action button (three dots) behind the concerning document you would like to tag and select Edit Tags:

- In the pop up screen that appears choose one or multiple tags to apply:
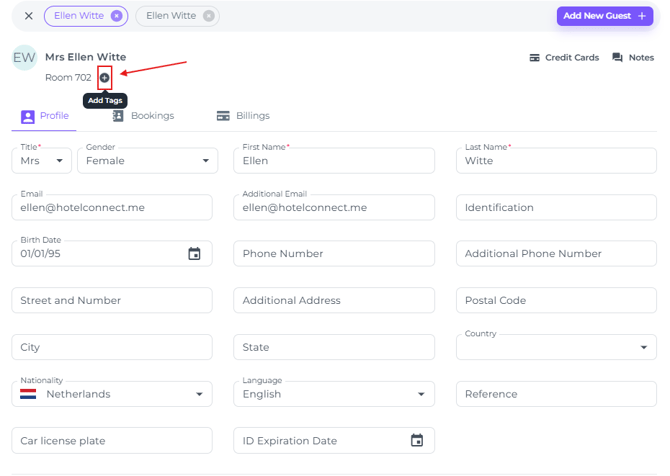
Apply a tag to a GUEST PROFILE:
- On the booking page for the relevant booking, click on the guest’s name to open their profile:
- Click the "+" symbol to attach one or more tags to this guest profile.
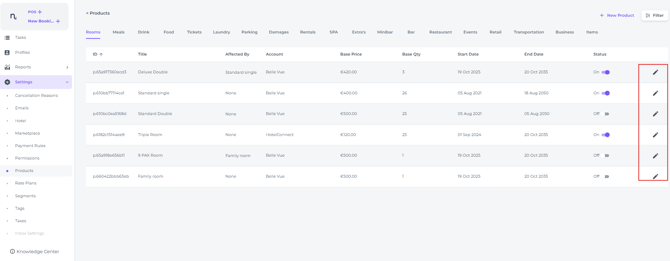
Apply a tag to a specific PRODUCT:
- From the main menu go to Settings and choose Products:

- Choose the product you wish to tag and click on the pen icon/amend button to edit the product details:
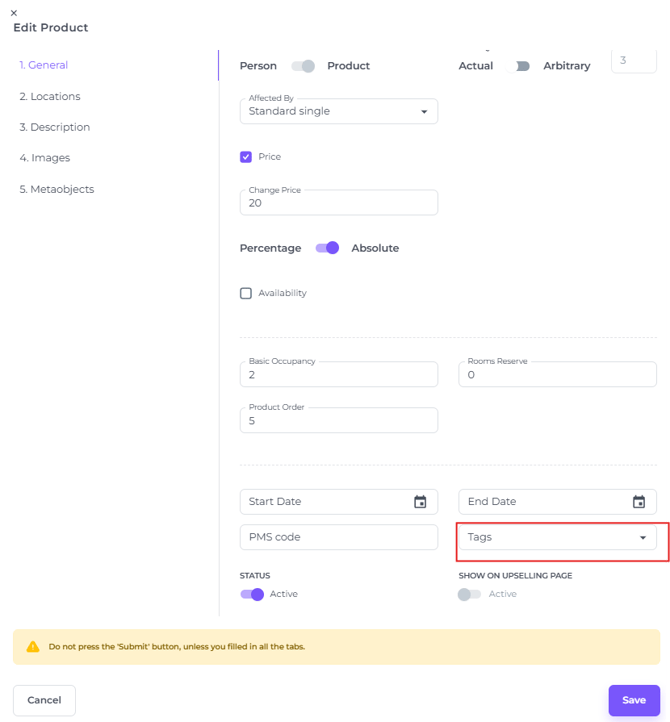
- In the General tab, at the bottom of the page, set one or multiple tags for the selected product and Save your changes:
Apply a tag to a RATE PLAN:
- From the main menu choose Settings - Rate Plans:
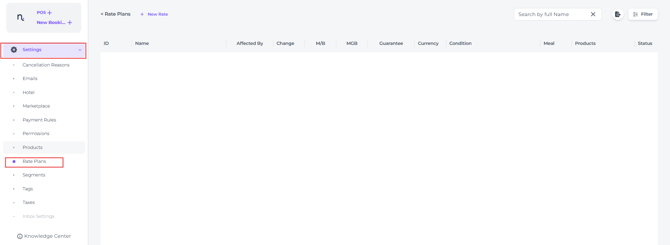
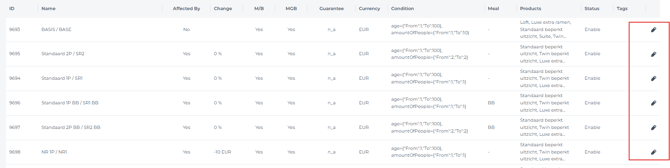
- Choose the Rate Plan you wish to tag and click on the pen icon/amend button to edit the Rate Plan details:
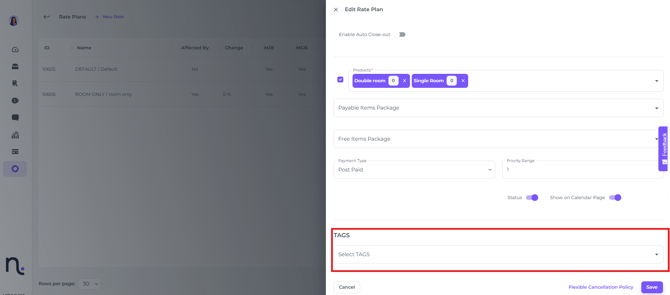
- Set one or multiple tags for the selected Rate Plan and Save your changes.
Apply a tag to a GROUP BOOKING:
This option is not yet available.
Apply a tag to a NOTE:
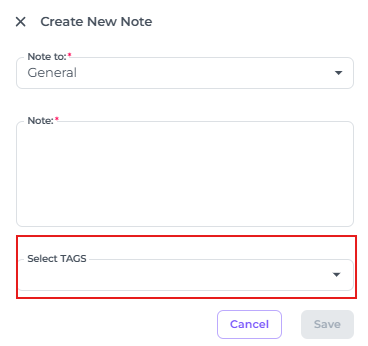
- On the booking page for the relevant booking go to the Note section and click on Create New to add a Note:
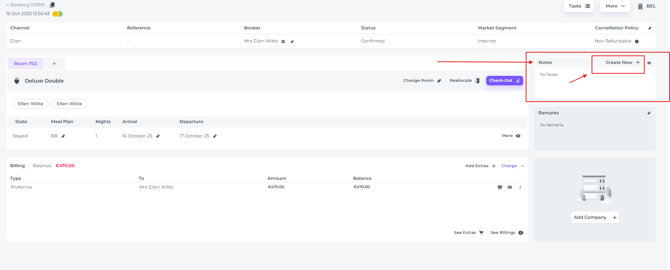
- Create your note and choose one or multiple tags and Save your changes:
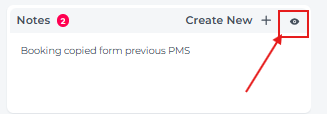
- To add a Tag to an existing Note view the Notes section by clicking on the Eye icon:
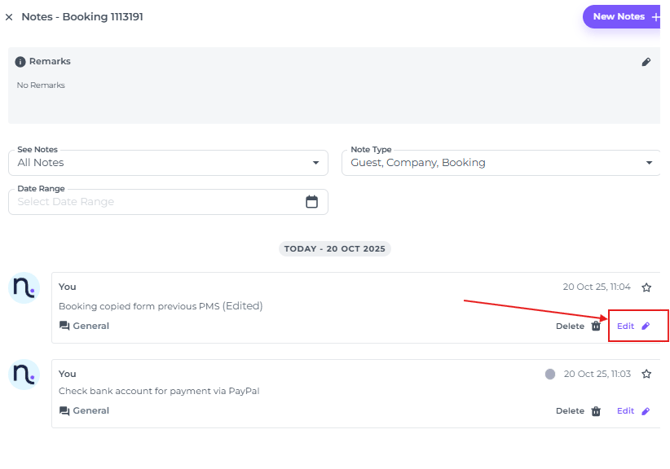
- Click on Edit
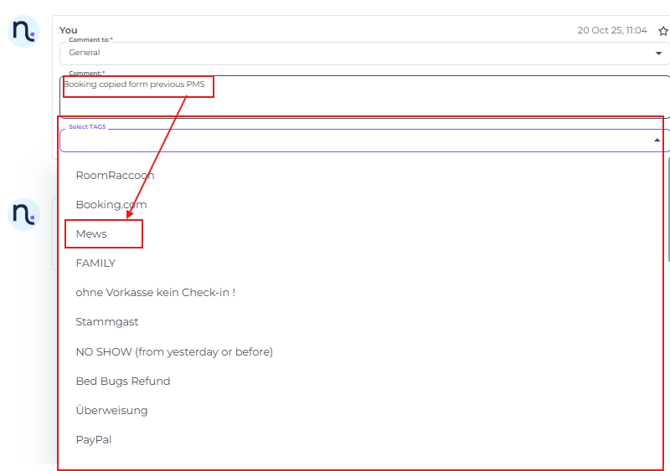
- Attach the Tag desired:
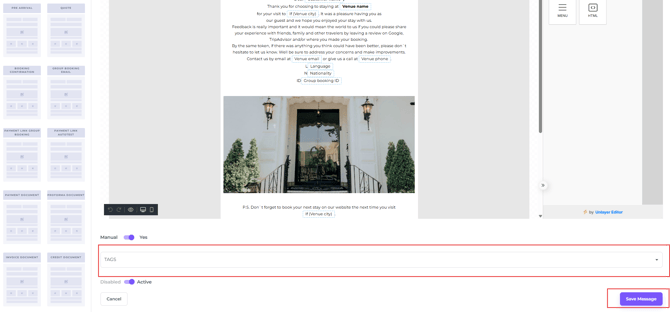
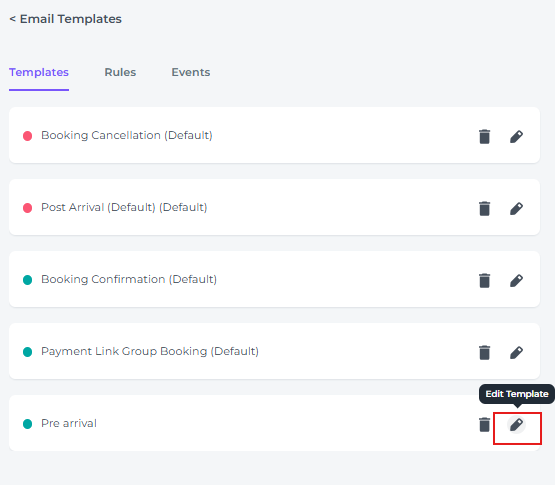
Apply a tag to an EMAIL TEMPLATE:
- From the main menu choose Emails:
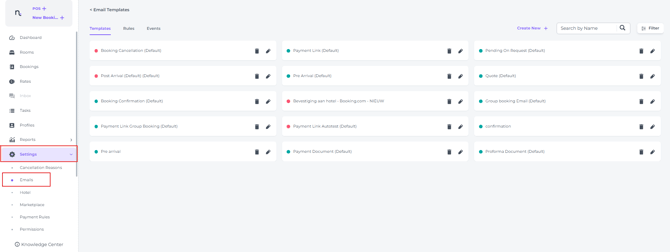
- Choose the Template you wish to tag and open by clicking on the Pen icon/ Edit button:
- At the bottom of the page set one or multiple tags and Save your changes.