The Online Check-In Tool
The best way to gather guest information and payments prior arrival
You can send the Online Check-in link to guests by email before arrival, ideally by adding a button to your confirmation email template. When guests click the button, they are taken directly to the Online Check-in page.
Benefits for Guests:
-
Our Online Check-in lets guests complete registration in their own language before arrival, saving time at check-in.
-
Guests can complete mandatory details and payment before arrival.
Hotel benefits:
-
At check-in, required details and payments are already completed, saving up to 90% of staff time.
-
If guests have utilised the Online Check-in tool, the booking will automatically be labelled with an Online Check-in Tag:


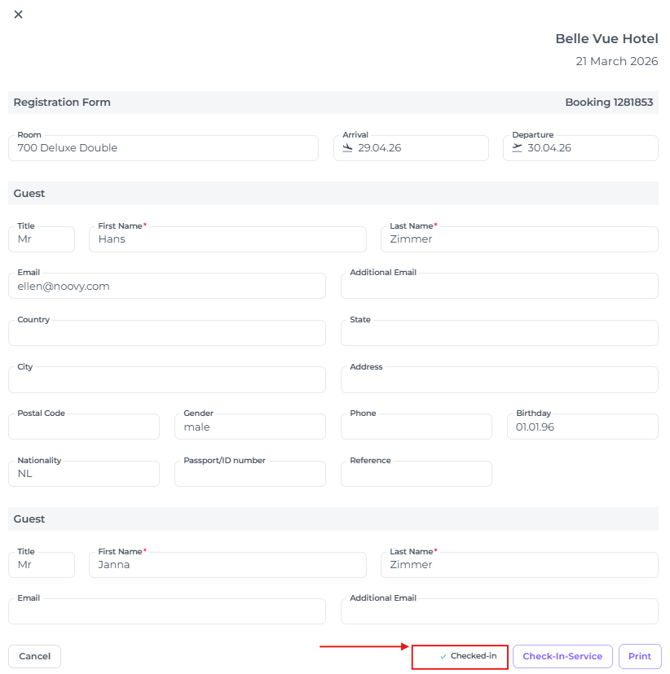
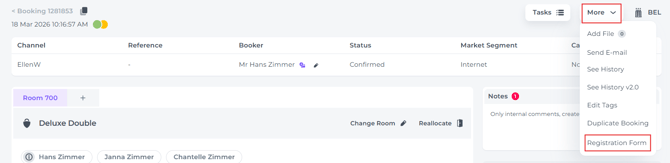
As well it can be seen on the registration form (More - Registration Form):


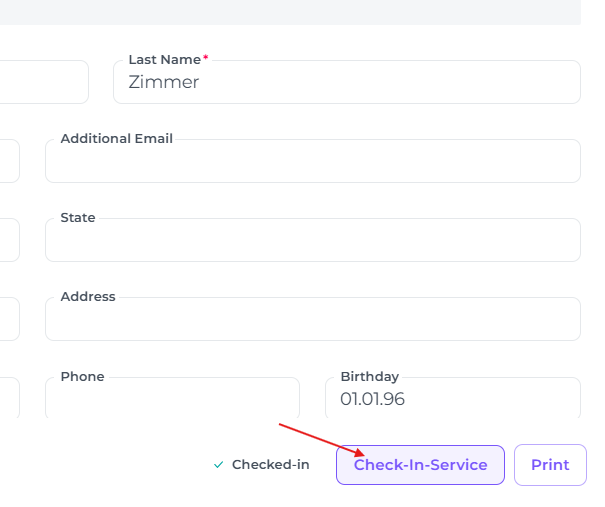
If the online check-in has been initiated, the user will be able to see that it has been ticked:
Check our article:
👉 'How to set up your Online check-in form?'
1. Language Selection:
-
When opening Online Check-In, the system selects the guest’s language based on the profile guest information, which can be changed from the available language options:
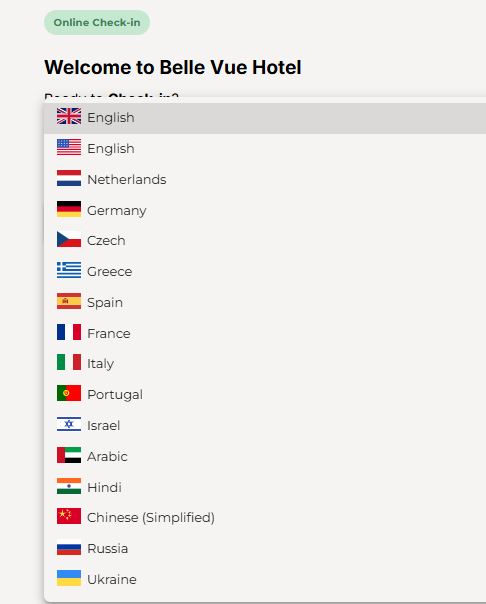
-
The guest can then press "Get Started" to proceed:

2. Start the Online Check-In Process
The following step involves updating guest information. Depending on your configuration, the system will request the specific details you require from the guest.
- Entering information for each guest within the concerning reservation.
- Accepting the terms and conditions.
- Providing a digital signature.
* If guests use their phone, to add the signature they will have to sign using their finger.

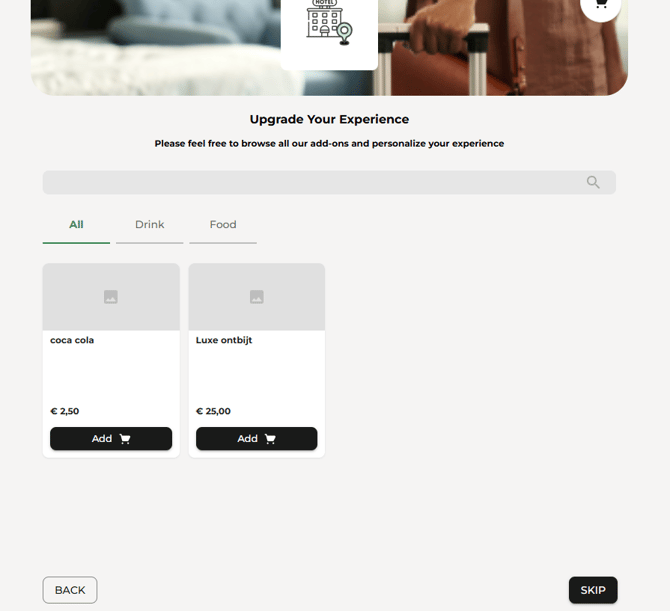
3. Book your extras:
- If you have Extras set up for your hotel, guests can add them to their booking here. The Proforma will automatically ass the extras. If guests are not interested, they simply click skip
4. Choose a payment option:
- Pay Now: This option allows for immediate payment by credit card, Ideal, Paypal, etc.
The system calculates a “Non-channel balance”:- Includes only amounts paid by guest/company
- Excludes amounts paid by channel/provider (or non-paid Invoices with Channel as a payer)
- Pay Later: This option permits completion of the check-in process without immediate payment.

For details on customising mandatory fields and enabling the "Pay Later" option, see the article 'How to set up your Online Check-In form':
5. Completion of the Online Check-In
-
When all steps are completed and the reservation has either been paid, or a Pay Later was chosen, the registration will be saved by clicking on Done:

- Clicking Shop Again takes the guest back to the Extras page, where they can browse and book any available items, continued by completing the registration.
☝️Mind you:
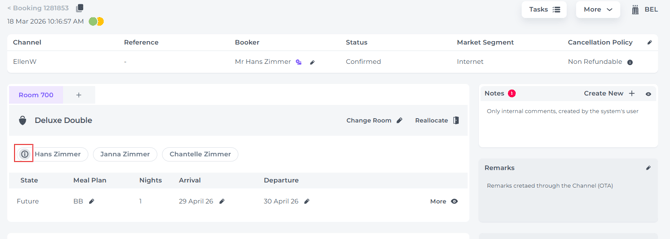
If the Online check in has not been done, or not been done properly (guest information is still missing/incomplete) the system will draw your attention by showing an 'information sign'.
This sign is seen in both the Booking list: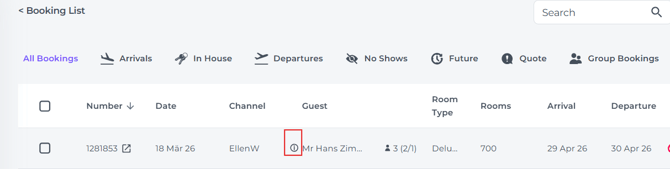
and on the Booking Page:
Your receptionists have two ways to handle this:
Option A:
Digital Check-in at the Desk
-
Fill in the guest's details during check-in by selecting More > Registration Form.
-
Scroll to the bottom and click Check-In Service to proceed.
Option B:
Manual Paper Registration
-
Print the registration form first and have the guest fill it out and sign it by hand. You can then update the system later by going to the booking page, selecting More > Registration Form, and using the Check-In Service button to enter the guest's details, using their written data from the signed form.
Watch the video training below to see exactly what your guests will experience during Online Check-In.